Session Replay
Session replay in ClickStack captures and reconstructs user interactions in your web application, allowing you to visually replay exactly what a user saw and did during their session. Rather than video recording, the SDK records DOM changes, mouse movements, clicks, scrolls, keyboard inputs, console logs, network requests (XHR, Fetch, WebSocket), and JavaScript exceptions — then reconstructs the experience in the browser.
Because session replays are stored in ClickHouse alongside your logs, traces, and metrics, you can go from watching a user's experience to inspecting the backend traces and database queries that powered it — all in a few clicks. This makes session replay useful for debugging production issues, understanding user behavior, identifying UX friction points, and visually confirming issues reported to support.
Instrumenting your application
ClickStack is fully compatible with OpenTelemetry, so you can send browser telemetry (traces, exceptions) using the standard OpenTelemetry JavaScript SDK or any of the ClickStack language SDKs. However, session replay requires the ClickStack Browser SDK (@hyperdx/browser), which extends the OpenTelemetry SDK with session recording, console capture, and network request capture. If you only need traces without session replay, any OTel-compatible browser SDK will work with ClickStack.
The examples below use the ClickStack Browser SDK. Adding it to your application requires just a package install and a few lines of initialization — the SDK handles all data capture automatically with no further code changes.
Initialize the SDK in a place that's guaranteed to load when your app starts. For example, in a Next.js application, this could be your root layout.js. This ensures session recording begins immediately and captures the full user experience.
Install via NPM (recommended)
Install via script tag
For applications not using a bundler, include the SDK directly via a script tag. This exposes the HyperDX global variable, which can be used in the same way as the NPM package.
The tracePropagationTargets option is key to connecting session replays with backend traces — set it to your API domain to enable full frontend-to-backend distributed tracing. For a complete list of SDK options including privacy controls, custom actions, React error boundaries, and source maps, see the Browser SDK reference.
The Browser SDK also supports masking inputs and text for privacy-sensitive applications, and attaching user information so you can search and filter sessions by user in the ClickStack UI.
Viewing session replays
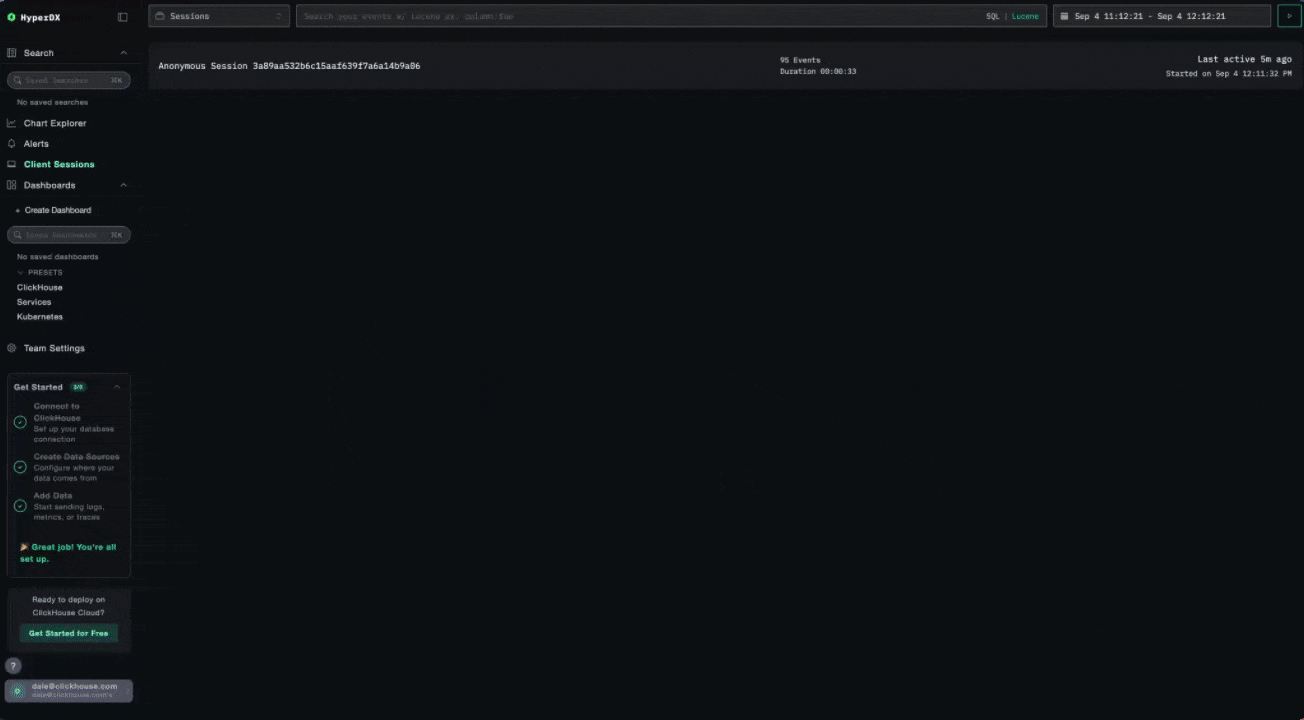
Navigate to Client Sessions from the left sidebar in the ClickStack UI (HyperDX). This view lists all captured browser sessions with their duration and event count.

Click the play button on any session to replay it. The replay view shows the reconstructed user experience on the right, with a timeline of browser events — network requests, console logs, and errors — on the left.

Switch between Highlighted and All Events modes to adjust the level of detail shown on the timeline. Errors are annotated in red, and clicking on any event navigates the replay to that point in the session.
From session to trace
When you select a network request or error in the session timeline, you can click through to the Trace tab to follow the request through your backend services — seeing the associated logs, spans, and database queries that were triggered by that user interaction.
This works because the tracePropagationTargets configuration links browser spans to server spans via the traceparent header, creating a connected distributed trace from the user's click all the way to the database. For a detailed walkthrough of this in practice, including instrumenting both frontend and backend, see Instrumenting your NextJS application with OpenTelemetry and ClickStack.
Try it out
There are two ways to see session replay in action:
- Live example — visit clickpy.clickhouse.com, interact with the app, then view your session replay at play-clickstack.clickhouse.com under the ClickPy Sessions source. For details on how ClickPy was instrumented, see the blog post Instrumenting your NextJS application with OpenTelemetry and ClickStack.
- Local demo — the Session Replay Demo provides a self-contained Docker-based application you can run locally to generate and view session replay data. The demo includes a pre-instrumented documentation explorer ready to use immediately, as well as a
pre-instrumentedbranch where code comments indicate where to add instrumentation yourself.
Learn more
- Browser SDK Reference — full SDK options, source maps, custom actions, and advanced configuration
- Search — search syntax for filtering sessions and events
- Dashboards — build visualizations and dashboards from session and trace data
- Alerts — set up alerts on errors, latency, and other signals
- ClickStack Architecture — how ClickHouse, HyperDX, and the OTel collector fit together
